Pages

Friday, November 4, 2011

Burlap Wreath

Today I'm excited to share with you a burlap/flower wreath I made to hang on my door. It was extremly quick and easy. I used a foam wreath for the base, i cut two long strips of burlap, fabric hextagons, felt and a glue gun of course!
I started by cutting the strips of burlap using my Simplicity Rotary Cutter. My hubs got it for me and I'm not sure if he knew what he got but it is awesome! It cuts fabric and paper at different sizes all with a push on a foot pedal. The result is always straight and fast!
Simplicity Rotary Cutter

After I had cut my strips ( I just eyeballed how long I thought they needed to be to cover the entire wreath). I hot glued one end and began wrapping it around the wreath gluing it periodically.

After that was done I began to work on the fabric flowers. I had recently purchased a pack of coordinating hexagon fabric scraps from Joann Fabrics and used those. I have made these same flowers by using circle cut outs of fabric in all the same size. I used 8 hexagons per flower and glued them to a felt circle. I folded each hexagon into a triangle, then folded it into another triangle and glued the point to the felt.


The bottom layer
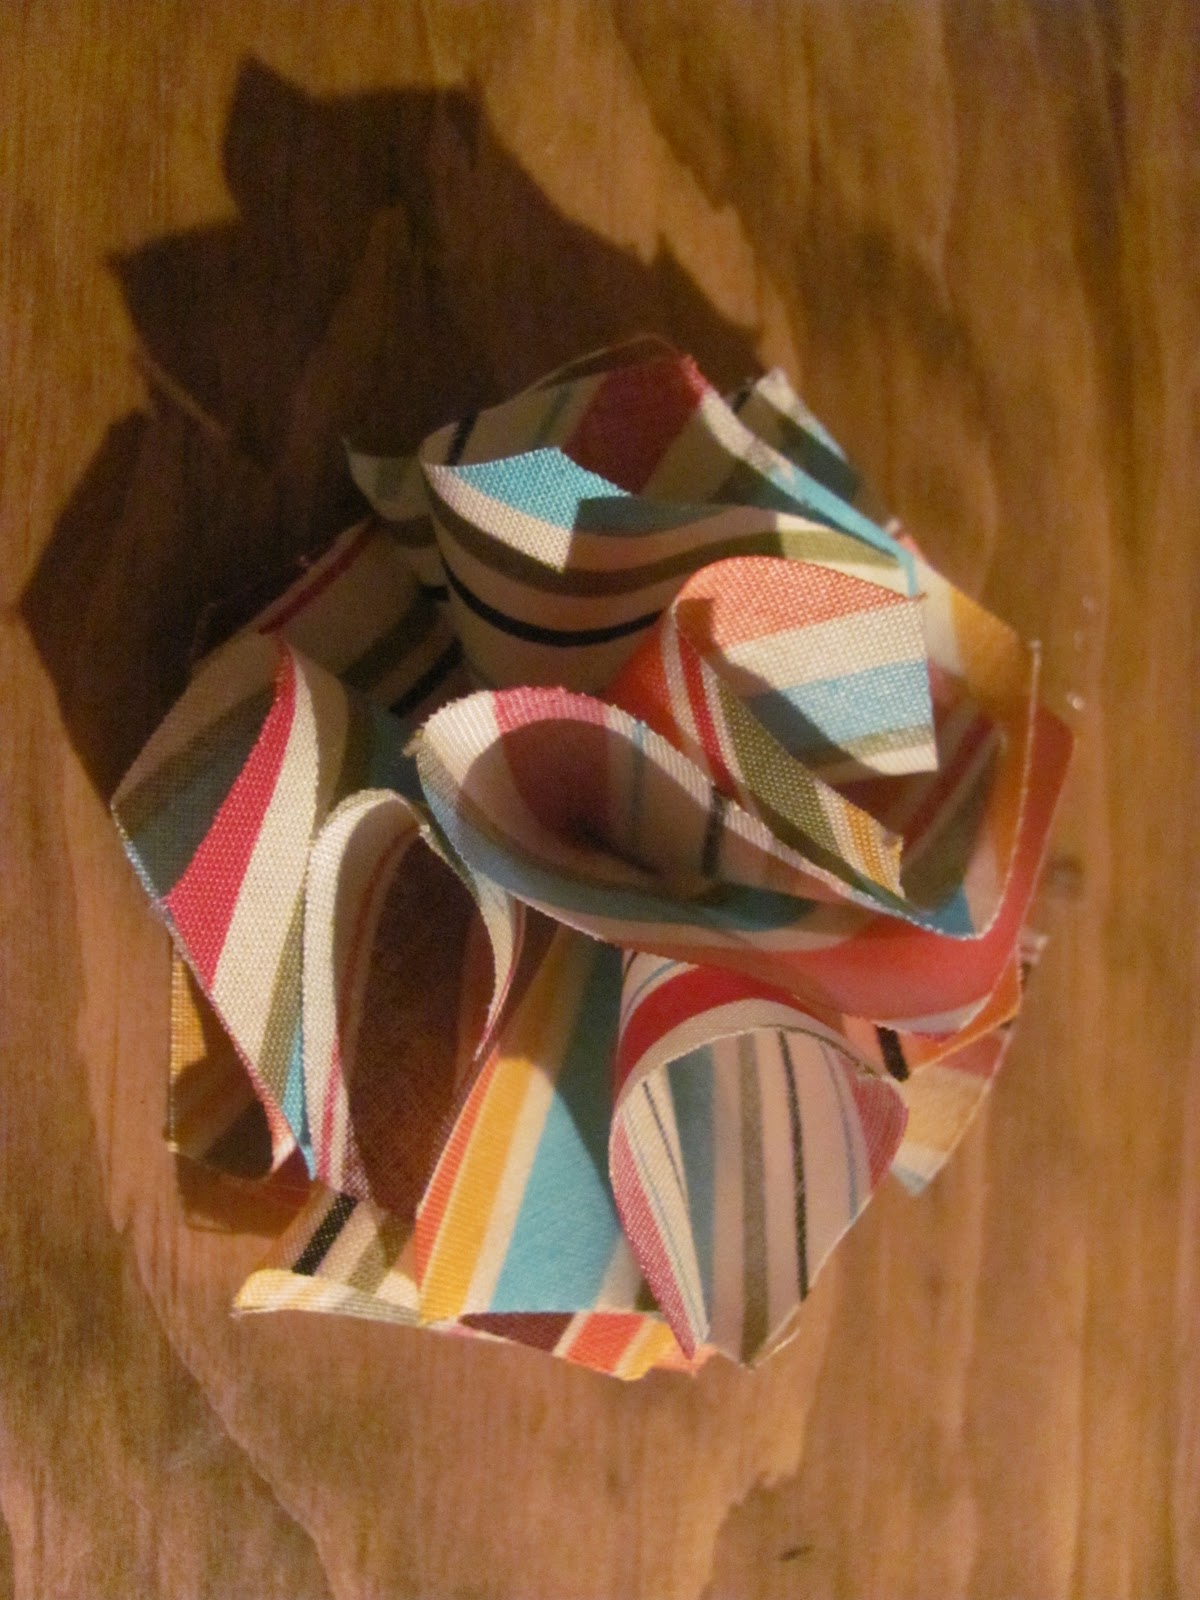
The finished flower!

After I made six different flowers I glued them onto the wreath, added a ribbon for hanging and was done! It took about 30mins. start to finish!


Hope you enjoyed the tutorial, Have an awesome day!

Tuesday, November 1, 2011

Barn Wood Sign


Hi Everyone! I wanted share a quick post with you today and show you a barnwood sign I made. The hubby has been ripping apart our basement and found a lot of great barnwood, which of course he knew to save for me! I quickly made this sign by picking 8 boards that were roughly the same size and laid them out to my liking. I then took a two pieces of scrap wood and screwed them onto the back side. I mixed Minwax Sedona Red stain with water (half and half) and very lightly brushed it on, then wiped off the excess with a dry rag. I then painted on the letters and lightly sanded the whole piece to give it a rustic look. I hung it up and was done!


I'm sorry for the less than exciting pictures, I'm still working on learning to edit them!

Have a great day!

Wednesday, October 26, 2011

Vinyl Wedding Themed Frame

Hello everyone! I'm very excited to debut my new blog with this present I made for my dearest friends wedding. Above my mantel I took an old window that my hubby found in our basement cleaned it up and added some vinyl letters that reminded me of our relationship and home. When my friend came over she fell in love with the window and talked about it evereytime she came over. I knew with her wedding approaching I had to make here one.

The Window frame above our mantel I made out of a window frame
The problem was I didn't have an extra window frame to make one or have the time to go to garage sales. However, I did have a frame with an outdated print that was the perfect size. I ripped out the print, painted the frame a light gray and distressed it.


This frame was just begging for a new life!
I then planned out all the different words and phrases I wanted to put on the glass. I decided to include inspirational words, the love birds names and wedding date and of course their beloved dogs names! In order to make sure all the words were even and as symmetrical as possible I got out a ruler and a dry earse marker. I lined out the center points and drew grids across the entire glass.

Positioning the letters...took forever!!
Once everything was in place and I forced myself to stop adjusting it and I put everything back together and cleaned it up. I also added a heavy duty picture hanging wire and called it good!
The finished product! I'm pretty happy with how it turned out and I love being able to give a unique personal gift that hopefully they will cherish forever!

At the gift table, I think it jazzes up the whole space very nicely!


Have any of you repurposed window frames (or regular frames)?